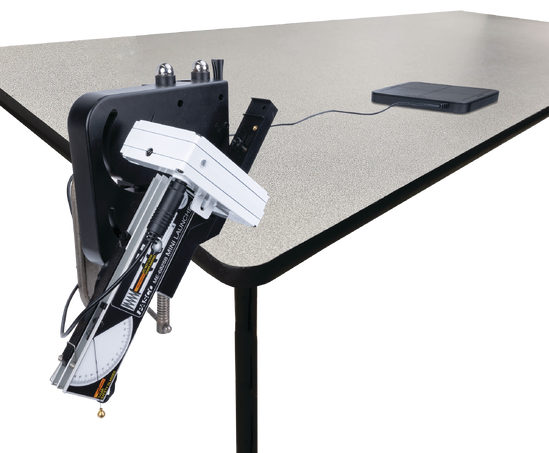
Description
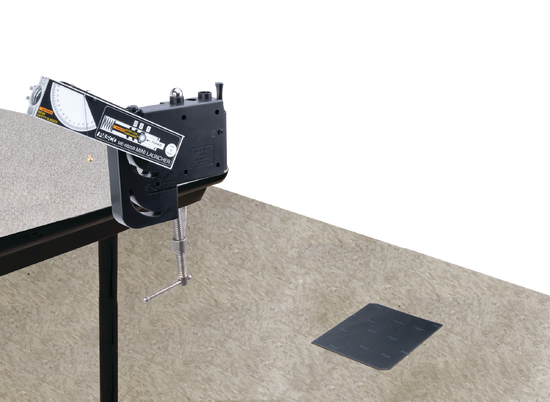
This kit has everything you need to perform classic projectile motion experiments by marking landing points of the ball using carbon paper and measuring the starting height and the horizontal distance traveled with a meter stick.
In addition, students can measure the initial speed of the ball using a photogate and measure the time-of-flight as the ball hits the pad which is plugged into the photogate.
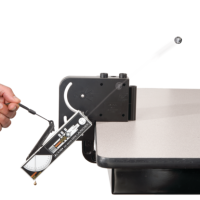
Examine how the range is affected by launch angle. The Mini Launcher is ideal for table-top experiments because its bracket allows it to launch the ball from table-top level.
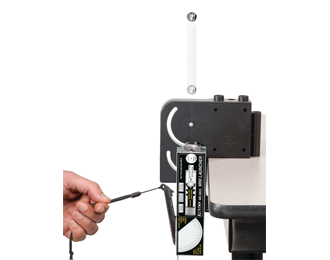
This apparatus can even be used to do a simple Conservation of Energy experiment. The launcher is pointed straight up and the students measure the initial speed of the ball as it is launched and the maximum height the ball achieves as kinetic energy is turned into gravitational potential energy.
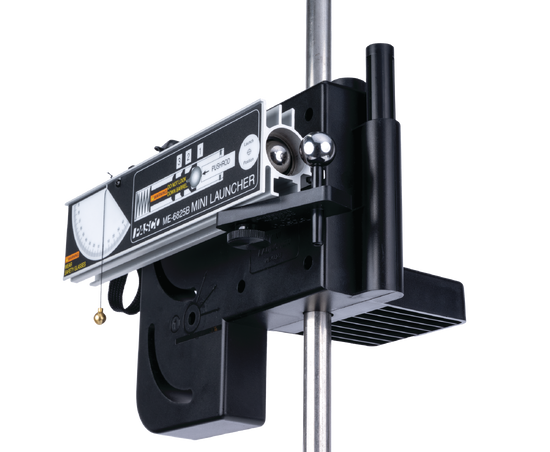
Every PASCO projectile launcher includes a 2-D Collision Accessory which holds a second ball at a position just outside the muzzle so that the ball being launched from the projectile launcher will strike the second ball. This two-dimensional collision causes the two balls to strike the table at different places. Students can measure the distances and the angles to determine the velocities of the balls after the collision and can perform conservation of momentum calculations.
To challenge students, have them clamp the launcher at fixed distance from a wall and ask them to vary the angle of the launcher until the ball reaches the maximum height possible as it hits the wall. This is not just the maximum height of the trajectory.
Perform These Experiments
- Projectile Motion
- Projectile Motion Using Photogates
- Projectile Range versus Angle
- Projectile Path
- Conservation of Energy of a Projectile Launched Straight Up
- Conservation of Momentum in Two Dimensions
- Varying Angle to Maximize Height on a Wall
- Horizontal Speed of a Projectile
- Horizontal Distance of a Projectile
- Time of Flight Versus Initial Speed
What’s Included
- 1x Mini Launcher (ME-6825B)
- 1x Time-of-Flight Accessory (ME-6810A)
- 1x Photogate Mounting Bracket (ME-6821A)
- 1x Wireless Smart Gate (PS-3225)
- 1x Aluminum Meter Stick
- 1x C-Clamp
- 1x Carbon Paper
- 1x Plumb Bob
Activities
01) Projectile Motion – Wireless
This experiment is in four parts: 1. Muzzle Velocity, Time of Flight, and Range 2. Launching at Different Angles on a Plane 3. Predicting the Range of a Ball Launched at an Angle from a Height 4. Challenge Activity – Maximum Height of a Projectile on a Wall
02) Projectile Motion
Use photogates to measure time of flight and the initial launch velocity of the ball and predict the range fired at an angle off the table onto the floor. Also, find the maximum range as a function of angle.
03) Projectile Range vs. Launch Angle
Students use a Mini Launcher to measure the range of a projectile on a horizontal surface for various angles. The average range is calculated for each angle, and average range vs. angle is graphed. A user-defined curve fit is used to predict the maximum range and the angle at which it should occurs. These values are then tested with a final launch.
07) Projectile against Wall
A ball is fired towards a wall at a fixed distance away. At what angle should the ball be launched so that it hits the wall at the highest location?
08) Horizontal Speed of a Projectile
The purpose of this lab is to determine whether the horizontal velocity of a projectile is constant throughout its flight.
09) Horizontal Distance of a Projectile
The purpose of this experiment is to use the initial speed and the time of flight to predict the horizontal distance traveled by a ball shot from a table at an angle.
10) Time of Flight Versus Initial Speed
The purpose of this experiment is to determine whether time of flight of a ball launched horizontally off a table remains constant as the initial launch speed is changed.

