Description
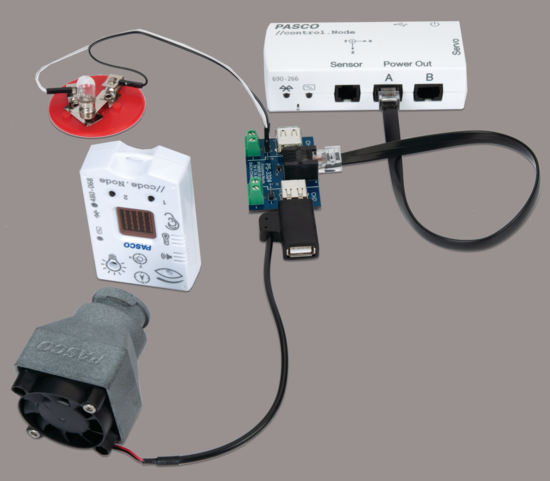
The //control.Node Sense and Control Kit empowers students to design, create, and explore through code. This kit includes a //control.Node and accessories that students can use to turn on lights, run a cooling fan, open doors, launch rubber bands, and much more.
The kit also includes materials and instructions for six projects:
- Night Light
- Game with Meter
- Automatic Door Opener
- Thermostat-Controlled Fan
- Light-Activated Winch
- Remote Control Rubber Band Launcher
These projects use elements of the engineering design process:
- Define the problem
- Research solutions
- Design a prototype
- Test solution
- Iterative design and improvement
Night Light Project
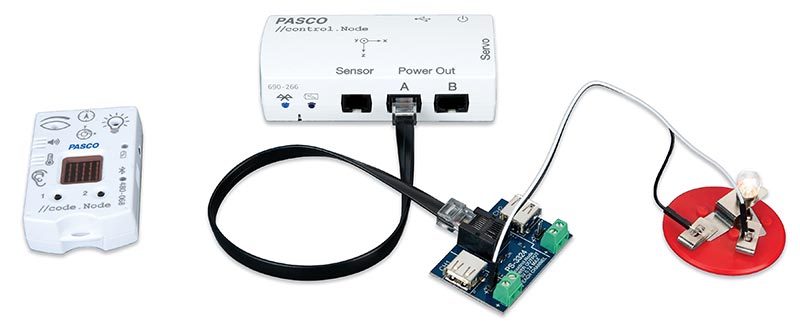
Goal: Construct a night light that automatically turns on when the room goes dark and turns off when the room is lit.
Game with a Meter
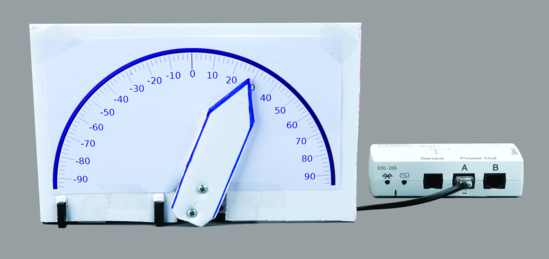
Goal: Make a meter that uses a stepper motor to rotate the indicator proportional to a sensor reading. Design a game that uses the meter to determine the outcome.
Automatic Door Opener Project
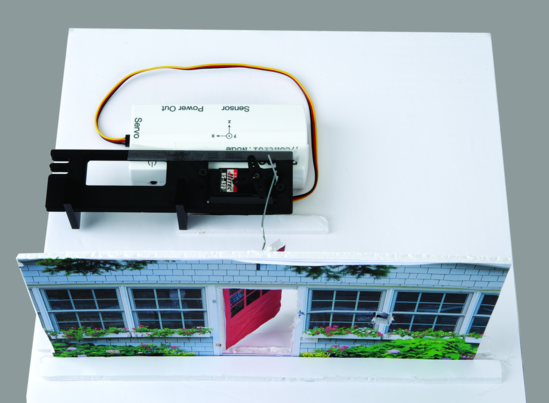
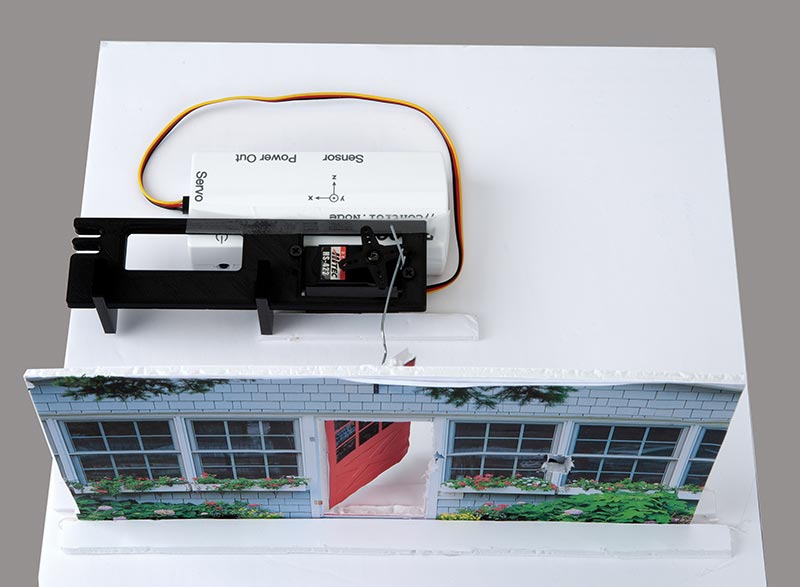
Goal: Build a house with a door. Push Button #1 on the //code.Node and the servo opens the door. Push Button #1 again, and the servo closes the door.
Thermostat-Controlled Fan Project
Goal: When the temperature rises above a specified point, turn on the fan, which cools the air by blowing into a wet cloth. When the temperature goes below a specified point, turn the fan off.
Light-Activated Winch Project
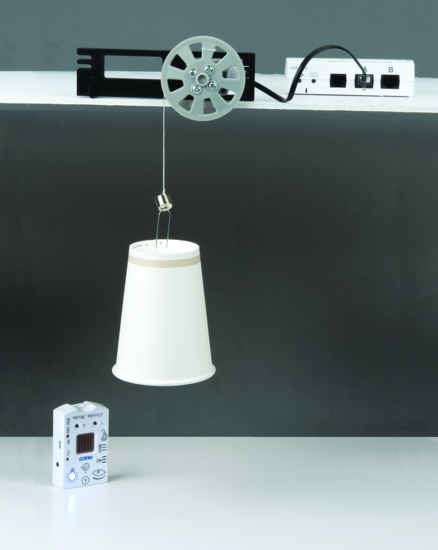
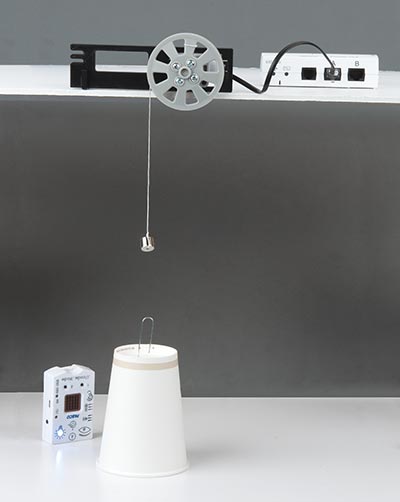
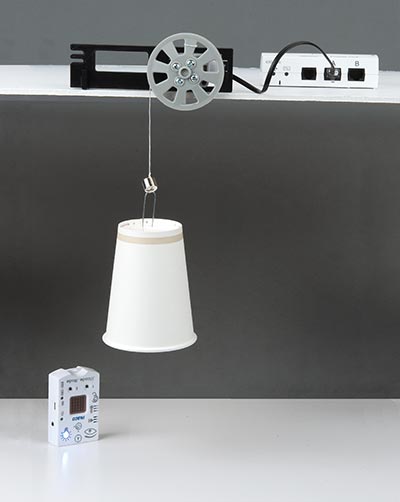
Goal: Place a white cup in front of //code.Node with its light turned on. The reflected light triggers the winch to go down and the permanent magnet sticks to the object, hauling it up. Stop the winch when the cup is lifted above the //code.Node.
Automatic Rubber Band Launcher Project
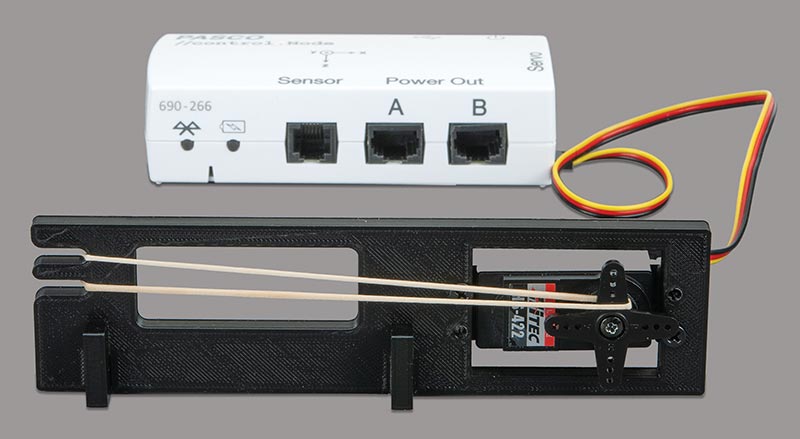
Part 1: Program the servo to hold its position while the rubber band is loaded. Push the button on the //code.Node to fire the rubber band.
Part 2: Expand on Part 1 by launching the rubber band when you clap your hands near the //code.Node’s sound sensor. Use the //code.Node as a target, so that when the rubber band knock it over, its accelerometer detects the motion, causing the //code.Node to scream and flash its lights.
What’s Included
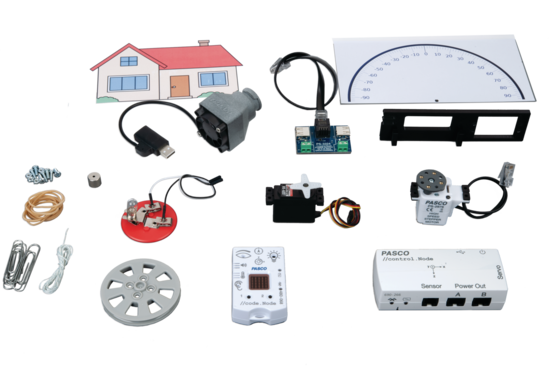
- 1x //control.Node (PS-3232)
- 1x //code.Node (PS-3231)
- 1x Servo Motor (SE-2975)
- 1x High Speed Stepper Motor (PS-2976)
- 1x USB Fan (PS-6206)
- 1x Lightbulb and Stand (EM-9099)
- 1x Motor Bracket and Stand
- 1x Power Output Module (PS-3324)
- 1x Small Magnet
- 1x Pulley
- 2x Electrical Wires
- 10x Rubber Bands
- 10x Jumbo Paper Clips for Servo Pushrods
- 1x Mounting Bolts and Nuts for Motors
- 1x House and Meter Paper Templates
- 1x Phillips Screwdriver

